This post may contain affiliate links.
Thank you to everyone for all your wonderful and positive feedback on our RV renovation throughout our Ultimate RV Makeover. As mentioned at the end of our final reveal, we have been getting quite a few questions in comments and we want to share answers to those questions, and how it has been living with our renovated RV.
We put together a video to walk you through the RV as we answer the questions. Check out the video here, then read on for more.
What questions are we going to cover in this post?
The feedback about our series and remodel has been fantastic. Looking through our many different communication channels, we have starting seeing some questions coming up. We have answers for you. Some of the questions we will answer in this post include:
1. How has the RV renovation held up?
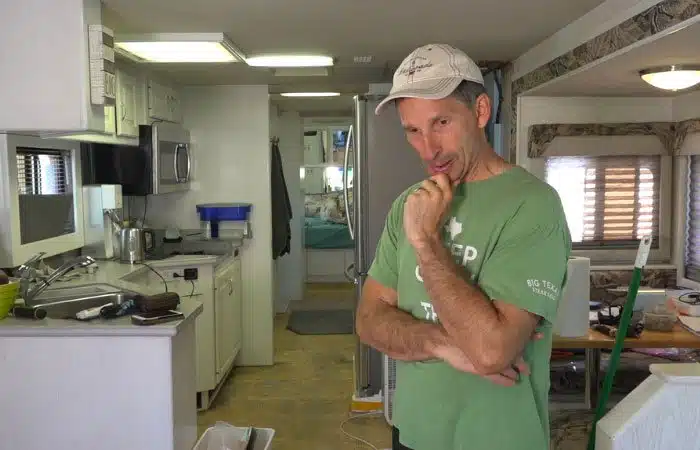
We have driven thousands of miles and lived in the renovated RV for many months now. Nothing in our remodel has broken. Most everything is holding up really well. But we have seen a few things showing some wear.
The tiled backsplashes still look great. But, we the grout where the counter top and backsplash meet cracked. The kitchen was easily fixed by using white caulk. However, the bathroom has been more challenging because we used blue grout. We plan to try mixing some paint with caulk in the future in hopes that we can create a similar color, but with a more forgiving material.
We have not had trouble keeping all the light colors clean. The white cabinets actually show less dust than our previous darker colored cabinets. The light colored linens are in the back of the RV. Since we usually remove our shoes when we come in the RV, very little dirt makes it way to the bedroom.
The flooring has held up very well, and all of the wall decor was mounted well to start with. So we have not had any issues with them falling. A couple of the cabinets have needed extra caulking and might need to be re-glued, but most have been unchanged.
2. What is it like living in the newly renovated RV?
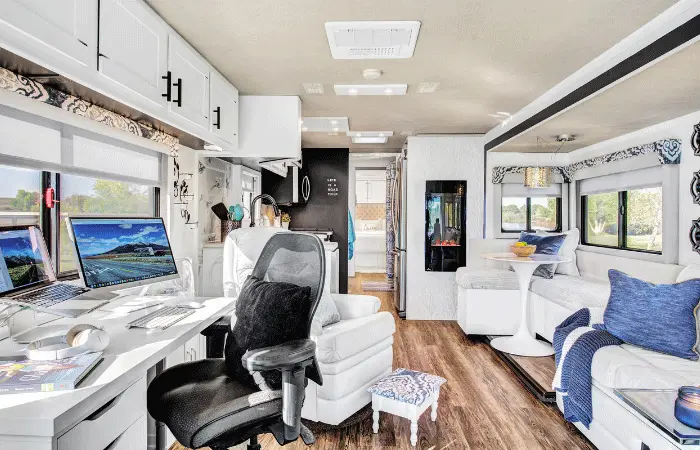
We have loved living with our renovated RV. All our floor plan improvements and added features have proven to be just was wonderful as expected. No regrets with any of the design changes.
The new workspace area using the driver seat has been very good. The ergonomics have worked well even with working more than 40 hours per week. And of course also using the same seat when driving. The desktop quickly and easily folds up and stores in a drawer under the coach on drive days.
You might find it amusing to read that we still have a couple projects unfinished months later. The most significant one is the dinette area. We have not yet been able to have the cushions appropriately covered yet. The fabric is just wrapped around them. Our travel pace and workload has been too high to get that project done, or hired out. Upholsterers are hard to find, especially when only in an area for a short time. We plan to pick up our sewing machine and give it a try ourselves sometime down the road. (Update, we found a great upholsterer who did the job for us)
The fireplace on the feature wall has been great. We love to turn it on for ambiance, and have used it to heat the coach too.
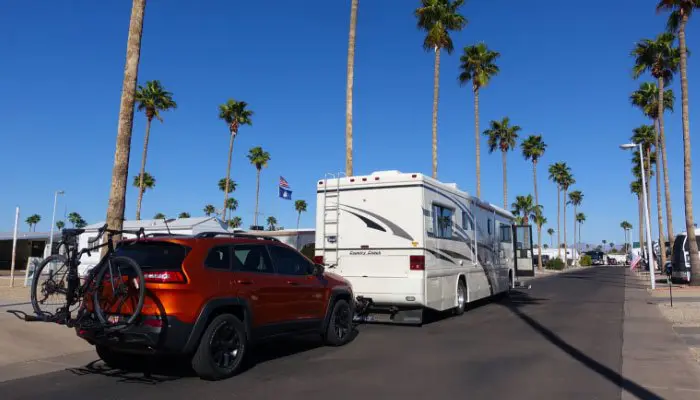
3. How does it travel?
Many have asked how we travel with chandeliers. We have found some great solutions for them that we will explain in detail in a future pack down video. In the meantime, we’ll share the high level here. The dining room chandelier rests on a stack of pillows. Bedroom chandeliers are secured to the nearby cabinet with small bungee cords.
The free standing dining room table is very heavy so it doesn’t move at all. For additional safety, we have a cutout under the dinette for the base of the table. If the table ever did tip, the base of the table would be caught by the dinette.
Our custom counter top extension did swing and bang a little on our first drive. This was quickly and easily remedied by placing a pool noodle on the back side. The noodle protects the wall, and completely eliminated the noise.
4. Why did we make the changes to the cabinets?
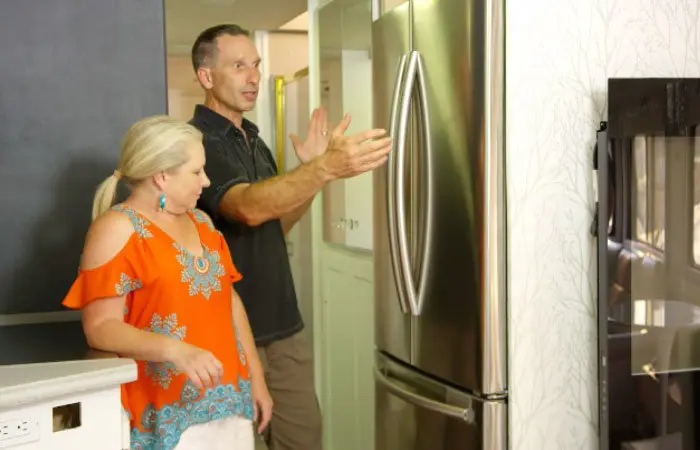
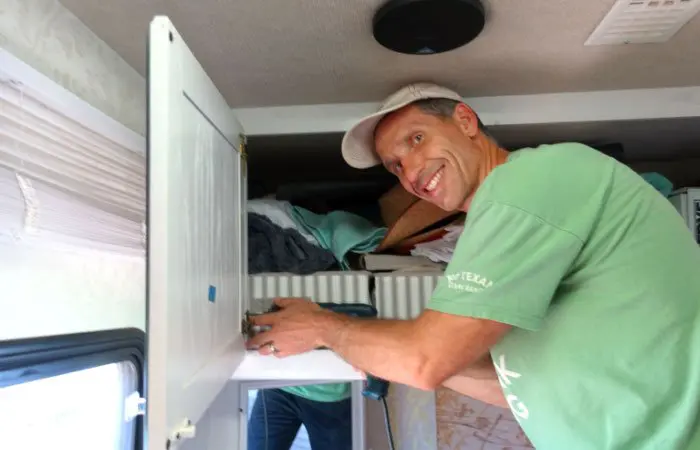
We have seen a number of questions about why we flipped the cabinet doors. We first flipped them to create a cleaner, and more contemporary look. The original raised panel cabinet doors looked cluttered, especially in narrow doors.
Flipping became an even firmer decision for us because our RV was originally ordered with an upgraded mirror package. When ordered with the mirrored cabinet faces, the original cabinets behind those mirrors are left unfinished. So, when you remove the mirror, you are left with an ugly unfinished cabinet face.
If you don’t flip them cupboards around, you will likely need to otherwise significantly modify or replace the originals. We had already planned on flipping them, so this just confirmed the decision
5. And the BIG question. How much did it cost?
As you would have seen in the previous posts in the Ultimate Makeover series, this was a major renovation. We made significant changes to virtually every area of the RV. Let’s break out the expenses a bit for extra clarity since this is one of the common questions.The two main categories for cost are the interior design renovation, and the exterior power upgrade.
Our Interior Design Upgrade Cost
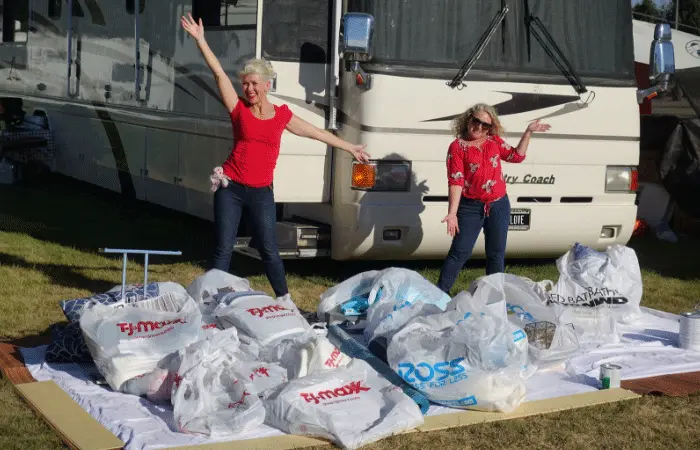
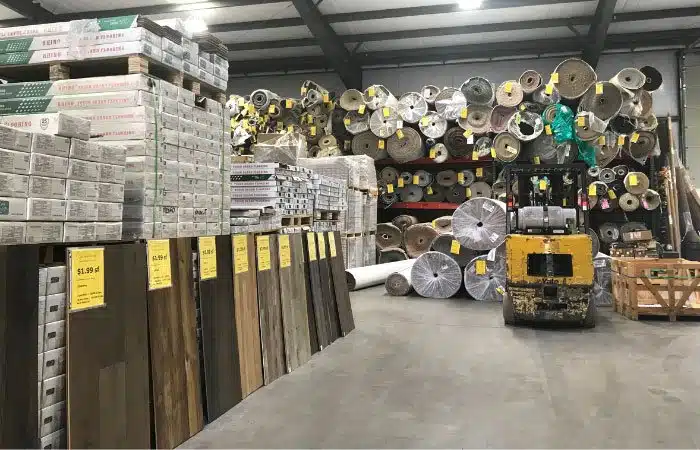
The total of all materials for our interior design came to around $12,000. Keep in mind that this includes major kitchen appliances, flooring, paint, lighting and even custom stainless steel pieces. We did our best to find deals, and did much of the shopping at discount stores.
Please also note that this was a Do-It-Ourselves renovation. The only labor we hired out was the tile work for the kitchen and bathroom backsplashes. All other work was completed by ourselves and our friends. If we would have needed to be hands off, and paid a professional shop to do all the labor, the cost would have been significantly higher. We literally have hundreds of hours invested between us. Which literally saved thousands of dollars by not hiring it out.
We have started adding many of the items purchased for our renovation to our amazon store. Check out our amazon page to see more.
Our Off Grid Power Upgrade Costs
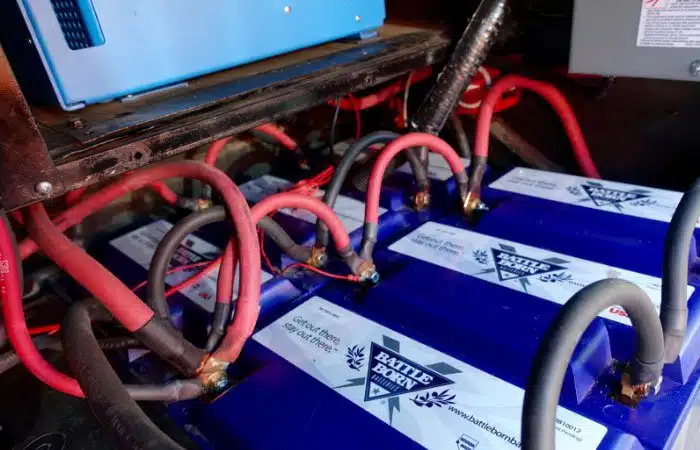
The second large piece of our renovation was the off grid power system. This system is literally what allowed us to do this entire project without needing to plug into power. A very special Thank You to our partnership with Battleborn Batteries.
Not everyone would need a system as advanced or robust as ours. If you were to install a similar system into your RV, it would cost around $13,000. Our core components are offered in a kit on the Battleborn Batteries website. The kit includes the 6 100Ah batteries, the Victron Inverter and solar controller, and a few extra components. Value at the time was around $8400.
Zamp solar provided us with six 170 watt solar panels and the related mounting hardware. From what we could find on their website, they do not offer six panels alone. Zamp prefers to sell full plug and play systems. When installing our system we made modifications to the panel wiring to optimize performance for our set up. They are not installed the way they were originally designed. We found a bundle offering six panels and other components at $3,700. Once the extra components were removed, the cost of the panels is around $3,000.
Extra parts for installation
During our installation we also needed to buy a lot of wire, and other components. The total cost of all of the materials used was about $1,600. Most of those items were ordered online from amazon. We have included some of them in our amazon store here.
Please also note that we had another great group of people who did the installation. We did not pay a professional shop to do the installation. The cost of installing this professionally would likely add significant expense. Installing a system like this is not easy. So, having it installed by experienced people is highly recommended. That said, we would also recommend that you learn as much about your system before, during and after the installation so that you understand how it all works
Sign up for our email newsletter with the latest RV park reviews, news and updates.
GOT COMMENTS OR QUESTIONS?
We would love to hear from you. Drop us a note in the comments section below.
More RV Makeover Content
Want to check out more on our Ultimate RV Makeover Series? Hover over each image to see the title and episode name.
12 Lessons Learned from Our RV Renovation
Getting Our RV Ready To Travel After our RV Makeover

What Did It Cost? and RV Renovation Questions
Episode 8 The Final Reveal | Ultimate RV Makeover
Episode 7: Finishing Touches | Ultimate RV Makeover
Episode 6: We’re Nearly There! Ultimate RV Makeover
Episode 5: Powering Our Off-Grid RV Renovation | Ultimate RV Makeover
Episode 4: Re-Building Our RV | Ultimate RV Makeover
Episode 3: Tearing Our RV Apart! | Ultimate RV Makeover
Episode 2: What Are We Going To Do? Ultimate RV Makeover

Episode 1: Let’s Do This! Ultimate RV Makeover Series
5 thoughts on “What Did It Cost? and RV Renovation Questions”
So how much was the RV itself?
We purchased this coach for $25,000. You might be interested in reading our related post of when we first bought the coach. Here is a link. https://rvlove.com/2018/07/23/first-rv-tour-introducing-our-new-to-us-motorhome-cc/
What make and model is your convection microwave oven?
Samsung MC17J8000CJ