This post may contain affiliate links.
Taking stunning photos of an eclipse is a goal for many photography enthusiasts. In this post, our guest photography expert, Richard Schneider, founder of Picture Correct and creator of Photography Cheat Sheets, shares essential tips and valuable knowledge on safely capturing and observing an eclipse.
With the last USA total eclipse for 20 years fast approaching, now is the time to prepare so you’re ready for the big event!
Whether you’re an experienced photographer or just hoping to grab memorable pictures with your smartphone, here’s some practical advice to protect both your eyes and your gear while nailing those impeccable shots. Whether you’re using a DSLR, mirrorless camera, or smartphone, read on for some handy tips and insights to help you make the most of your eclipse experience.
Quick Links
- Nature of the Eclipses: Annular and Total
- How to Safely Watch an Eclipse
- Exposure Differences for Eclipse Photography
- Photography Equipment You’ll Need
- Planning and Composition of Your Photos
- Practice Before the Eclipse Event
- DSLR or Mirrorless Camera Settings for Eclipse
- Smartphone Eclipse Photography Tips
- Summary and Get More Photograph Tips
- Get Photography Cheat Sheets
- The Next Solar Eclipse in the USA 2023 and 2024
- How to Watch the Next Solar Eclipse and Camp at EclipseFest23
- Visit the EclipseFest23 official website
- Shop Eclipse Glasses
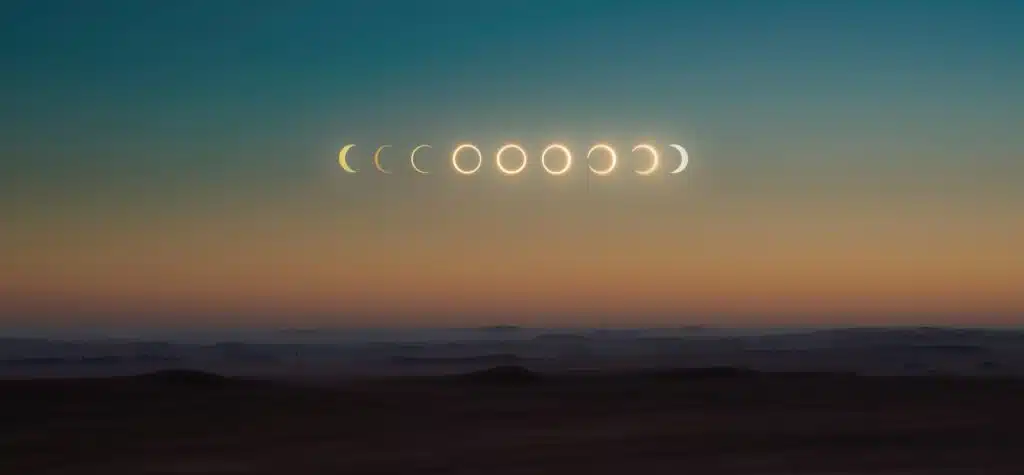
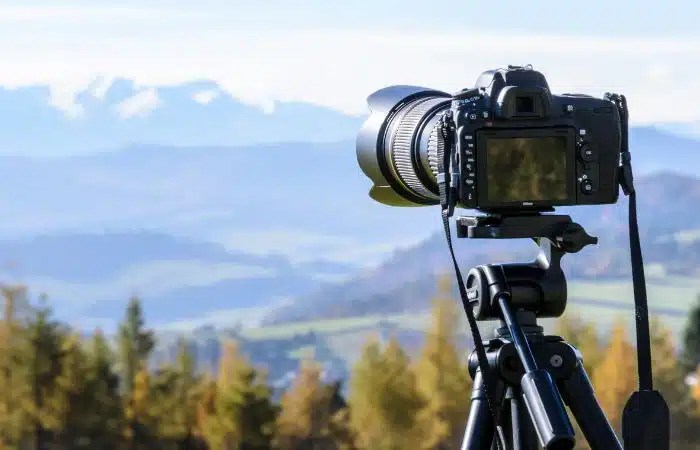
Photo by Abed Ismail on Unsplash
Nature of the Solar Eclipses: Annular and Total
There are two main types of eclipses. We recently had an annular solar eclipse on October 14, 2023, and the upcoming total solar eclipse is on April 8, 2024.
Each offers a different yet equally mesmerizing spectacle, and photographing them involves unique challenges and considerations. The essence of successfully photographing these eclipses lies in understanding the differences between them and implementing safe viewing and capturing practices.
Let’s take a look at the key differences and considerations.
Annular Solar Eclipse: Also known as the “ring of fire” eclipse, this is when the Moon covers the center of the Sun, but due to its apparent smaller size, leaves a ring of sunlight visible. This ring is called the “annulus”, characterized by the stunning “ring of fire”.
Total Solar Eclipse: This is when the Moon completely obscures the Sun, leaving only the solar corona visible. This creates a moment of darkness known as “totality”.
How to Safely Watch an Eclipse
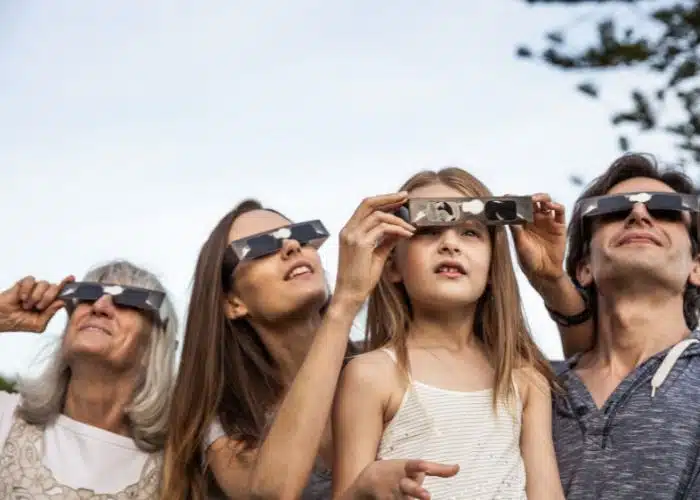
Regardless of which type of eclipse you are viewing and photographing, you MUST wear protective solar eclipse glasses. NOT Sunglasses. Never look at the Sun directly without proper solar viewing glasses, and never point your camera at the Sun without a solar filter, unless it’s during the totality phase of a total solar eclipse. Otherwise, you run the risk of causing permanent damage to both your eyes and the camera sensor.
As long as you have the correct protective glasses you can watch the eclipse. The only exception is during the maximum phase of a total solar eclipse when you are within the path of totality. For a few brief moments, the Sun is completely blocked by the Moon, and you only see the light of the Corona.
If you are using a telescope to view an eclipse, ensure it is equipped with appropriate light filters. When photographing an eclipse, you must use a solar filter.
PRO TIP >>> Be prepared and buy your Eclipse Glasses in advance.
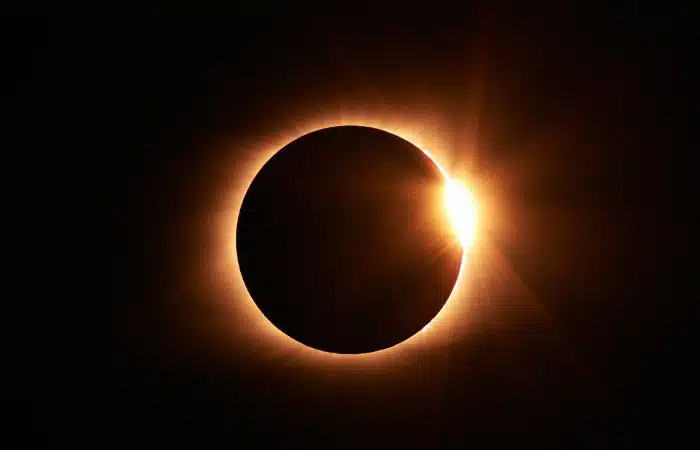
Photo by Jongsun Lee on Unsplash
Exposure Differences for Eclipse Photography
- Annular Solar Eclipse: There’s never a period where it’s safe to look at or photograph the eclipse without a solar filter because the bright ring of the Sun remains visible. So you will need to use a solar filter throughout the entire eclipse event.
- Total Solar Eclipse: During the brief period of totality, the Sun’s corona is visible and it’s much dimmer than the full Sun. You can safely photograph the corona without a solar filter during this phase, and the exposure settings will be quite different from the partial phases. The corona’s details and structures can be captured with a range of exposures.
Photography Equipment You'll Need
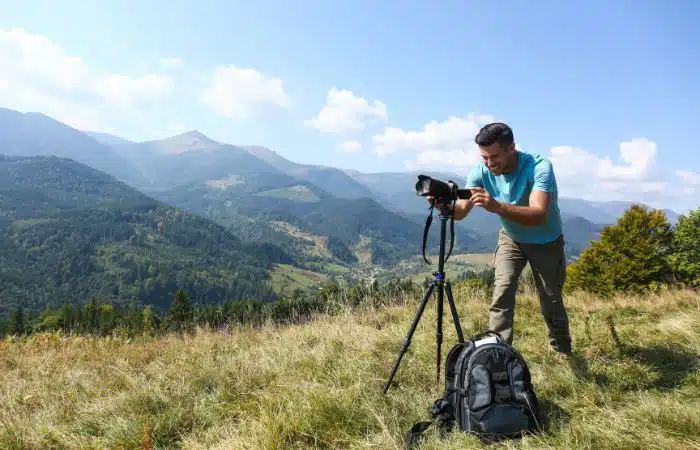
For both types of eclipses, you’ll need a DSLR or mirrorless camera with manual settings, a sturdy tripod, and a telephoto lens to get a close-up of the Sun.
Smartphone photography tips are shared below, but these have limitations.
A solar filter is crucial for both types of eclipses during the partial phases. For annular eclipses, you’ll need it during the maximum eclipse as well. Only during the totality phase of a total solar eclipse can you safely remove the solar filter.
Planning and Composition of Your Photos
- Annular Solar Eclipse: The focus can be primarily on the “ring of fire”, although it can be just as rewarding to capture the gradual transition leading up to the peak.
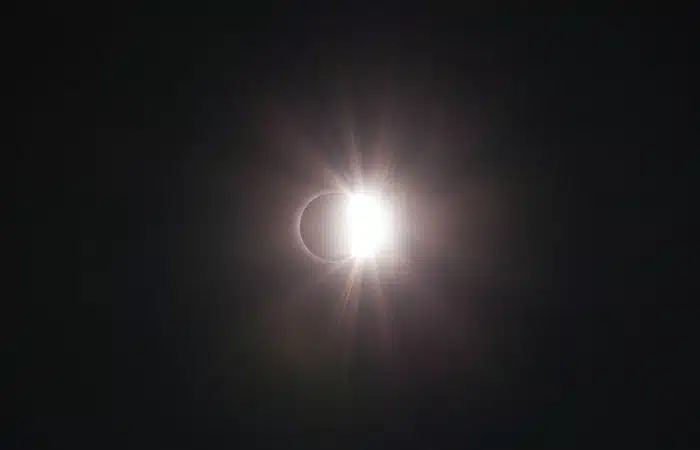
- Total Solar Eclipse: Since there’s a moment of darkness, you might want to capture the environment as well. For example, how the landscape looks under the eclipse, or the reactions of people watching it. The transition phases, Baily’s beads (sunlight streaming through the moon’s valleys) and the diamond ring effect, can also be stunning to photograph.
Practice Before the Eclipse Event
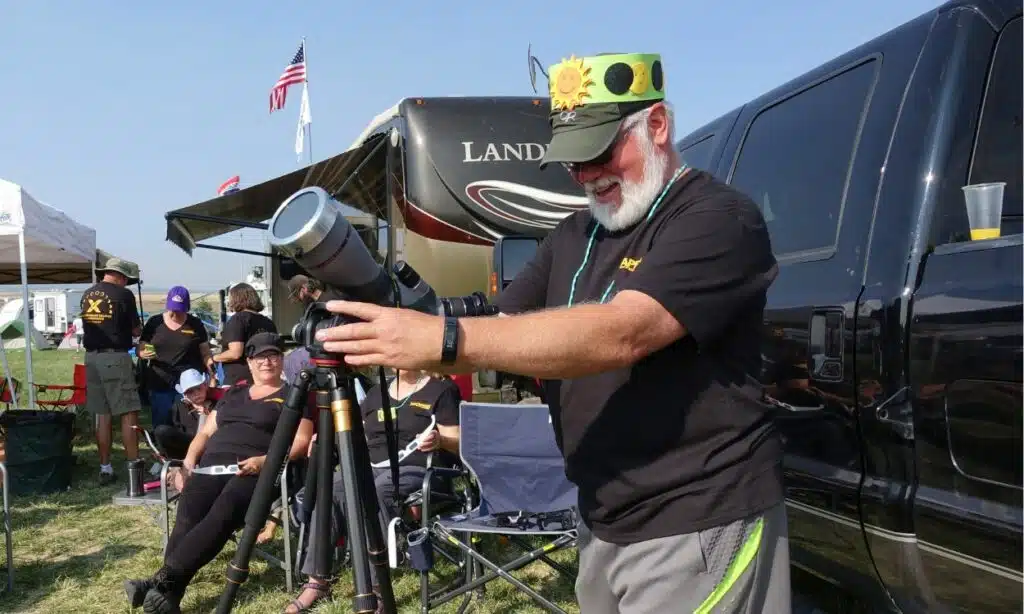
Both eclipse events are relatively short-lived, especially the totality phase of a total solar eclipse, which can last only a few minutes. So practice your shots before the event, get familiar with changing camera settings quickly, and know the sequence of the eclipse so you’re ready for each phase.
Photographing a solar eclipse requires careful attention to detail and safety.
Now let’s dive into a guide on camera settings and considerations, including tips on how to capture eclipse photos using a smartphone.
DSLR or Mirrorless Camera Settings for Eclipse
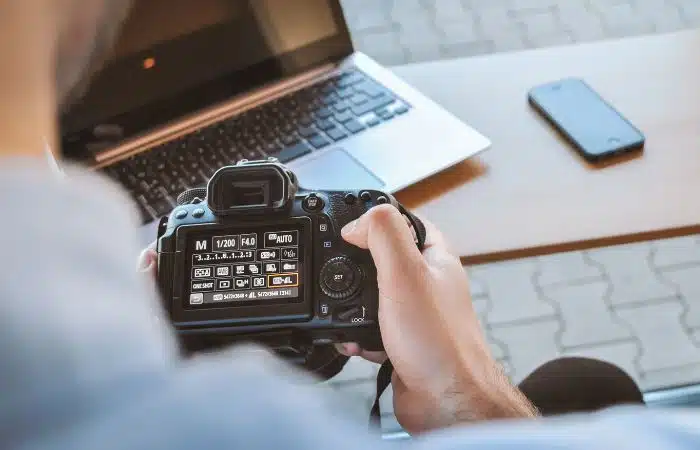
Solar Filter: This is essential for safety. Without a solar filter, the intense sunlight can damage your camera’s sensor. Remember, even during the peak of the annular eclipse, the sun’s light is still intense. The filter should be placed over your lens or telescope.
Focal Length: A longer focal length (like 200mm, 300mm, or even longer) is preferred to get a close-up shot of the sun. A teleconverter can also help magnify the image.
Aperture: Use a mid-range aperture like f/8 or f/11. This will give you a sharper image.
ISO: Start with a low ISO, like ISO 100 or 200. This reduces noise.
Shutter Speed: With a solar filter on, your starting point could be around 1/125 to 1/500 sec, but you’ll have to adjust depending on the brightness and the filter’s density.
Focus: Manual focus is best. Auto-focus can have difficulty locking onto the sun. Use Live View to zoom in and fine-tune your focus on the sun’s edge.
Format: If possible, shoot in RAW format. This gives you more flexibility in post-processing.
Bracketing: Due to the dynamic nature of the event, consider bracketing your shots. This means taking multiple photos with different exposures to ensure at least one has the right exposure.
Smartphone Eclipse Photography Tips
Yes, it’s possible to photograph an eclipse with a smartphone, but be aware there are limitations:
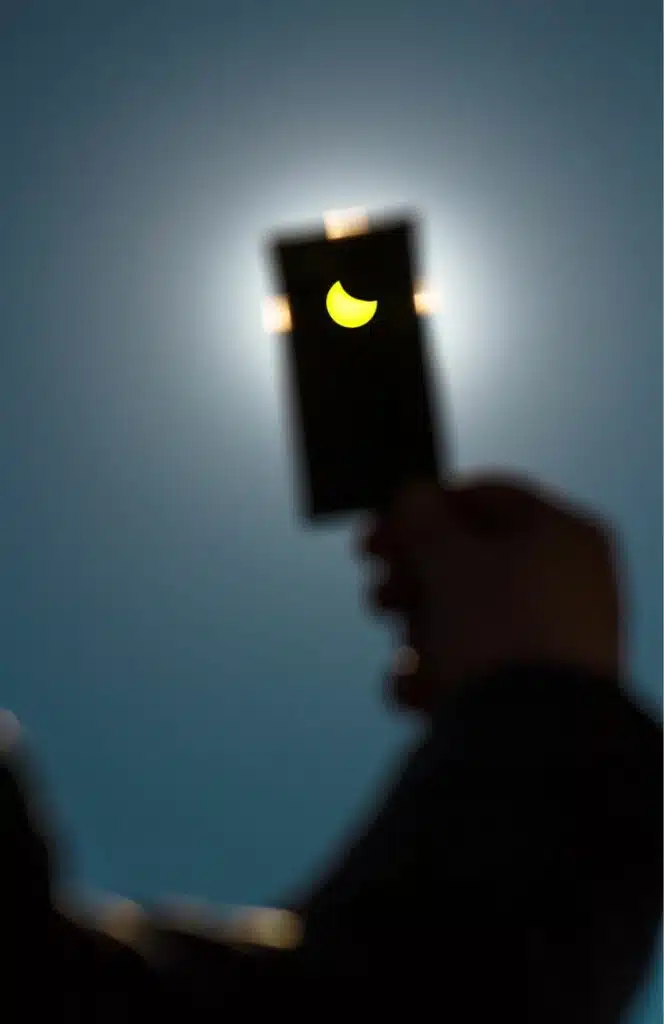
Solar Filter: Safety first! If you’re pointing your smartphone at the sun, you should use a solar filter. This can be a piece of a solar viewing glasses taped over the camera lens.
Zoom: Smartphone cameras typically have a wide field of view, meaning the sun will appear quite small. Some phones offer optical zoom, but even with this, the sun might still appear small. Digital zoom can reduce image quality.
Stability: Use a tripod with a smartphone holder. Even slight movements can make the sun blurry, especially if you’re using any form of zoom.
Apps: Consider using camera apps that allow manual control over settings (like ISO, shutter speed, and focus) to give you better control over the shot.
Attachments: Consider using telephoto lens attachments available for your smartphone. These can help you get a closer shot of the sun.
Focus and Exposure: Tap on the brightest part of the sun on your screen (which will be the ring during maximum eclipse) to ensure the camera exposes for the sun.
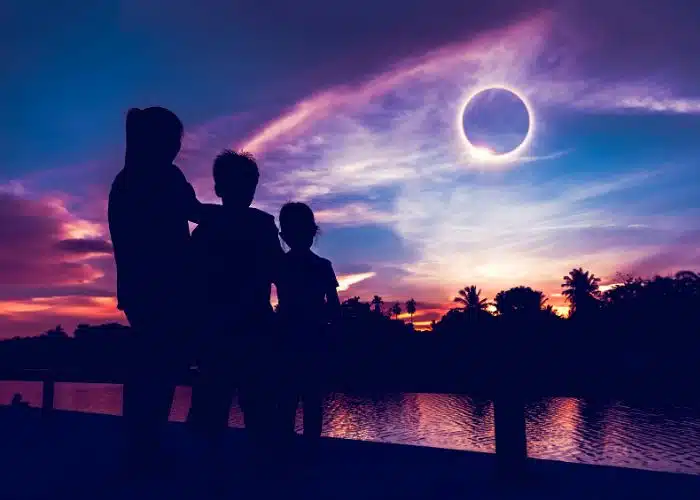
Summary and More Photography Tips
The most important thing is safety. Never look directly at the sun, even during the peak of an annular eclipse, without proper protection. And always make sure any viewing or photography equipment is fitted with the proper solar filters.
Finally, remember that while capturing an eclipse event is exciting, take a moment to enjoy and experience it as well. Solar eclipses, be they annular or total, are magnificent natural phenomena that are as awe-inspiring to watch in person as they are to photograph.
Learn more great photography tips from Richard Schneider here. Check out his especially popular Photography Adventure Cheat Sheets.

Author Bio: Richard Schneider
Richard is founder and editor of PictureCorrect which he launched in 2003 with the mission of serving photography tips and techniques to artists across the globe. Photography is one of the great passions of his life and he feels very grateful to be able to oversee run the day to day operations and work with countless contributors, creating resources to help people take better photographs.
What’s it like to experience a solar eclipse? Watch RVLove’s video below to find out!
Sign up for our email newsletter with the latest RV park reviews, news and updates.
More Content We Think You Will Like
Want to check out more eclipse content? Here are a few we think you will enjoy. Hover over each image to see the title name.
GOT COMMENTS OR QUESTIONS?
We would love to hear from you. Drop us a note in the comments section below.

