This post may contain affiliate links.

Okay. So if you have seen Episodes 1 and 2, you have met the team, and done a walk through and know what we intend to do and our action plan. Now it is time to pick up our tools, get dirty and literally start tearing our RV apart. Watch it all unfold in the video, and read on for more details.
Once you have a plan for your RV renovation, the next step is putting it into place. When it comes to renovating, there is a lot of demolition and removal that needs to happen before anything new can be brought in. In this episode we REALLY get into the action!
Here is a list of what we tackle in this episode.
- Remove furniture and other items to clear the space
- Tear up the carpet and staples
- Bust out the tile
- Remove the window boxes and shades
- Rip out the dinette
- Carefully take out virtually all the mirrors (will we break any?)
- Remove the glass shower door, and ceiling vents
- Uncover some hidden water damage/surprises
- Remove cabinet doors (will we go for the flip?)
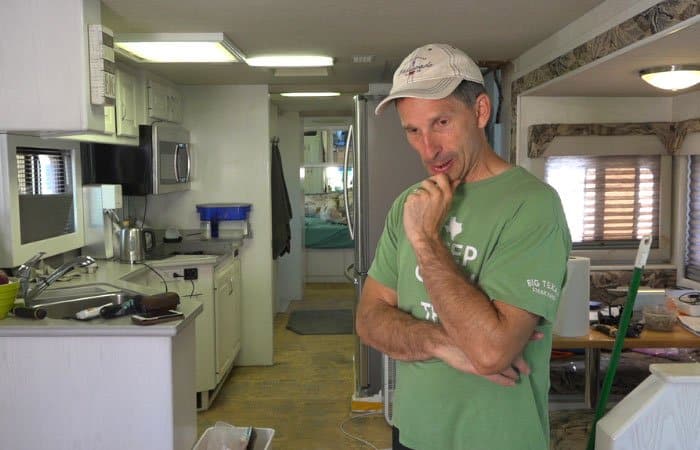
Now remember… we are living in our RV throughout the entire renovation! AND doing it all off-grid. Are you ready?
Let’s grab our power tools and safety gear. It’s time to get messy!
1. Removing Furniture and Stuff
Thankfully we had planned ahead and realized that we would need somewhere to store items from our RV outside of it during the remodel. We had three – yes 3 – tents outside. One was a screen tent that we put less weather-sensitive items in. The second tent was for inbound design items we had bought/ordered, which we nick-named the designer tent. The third, more sturdy tent, was for furniture and other stuff from inside the RV.
We were also glad that we were situated in a location that we would not need to move for a few weeks. One of the first items moved out of the RV were the driver and passenger seats! Yep… CC isn’t going anywhere until we finish this remodel. Next out came our workspaces, TV, and anything else that would be in the way. Those powered Ultraleather captains chairs may be comfy, but they are really heavy and awkward to maneuver out of the RV. They were relatively easy to remove with only a single large bolt, but putting them back in was tougher than expected.
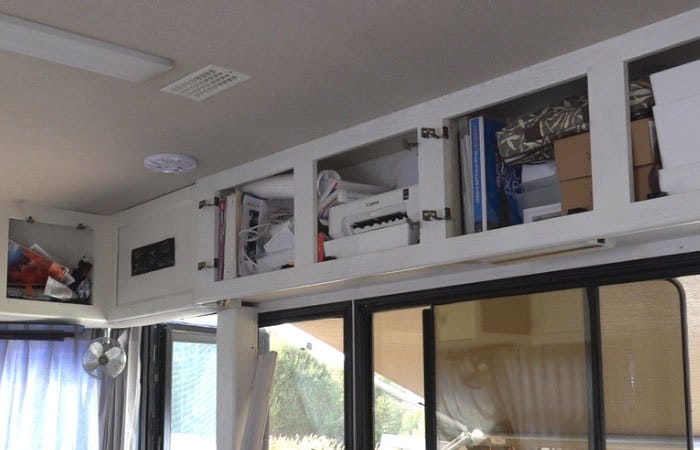
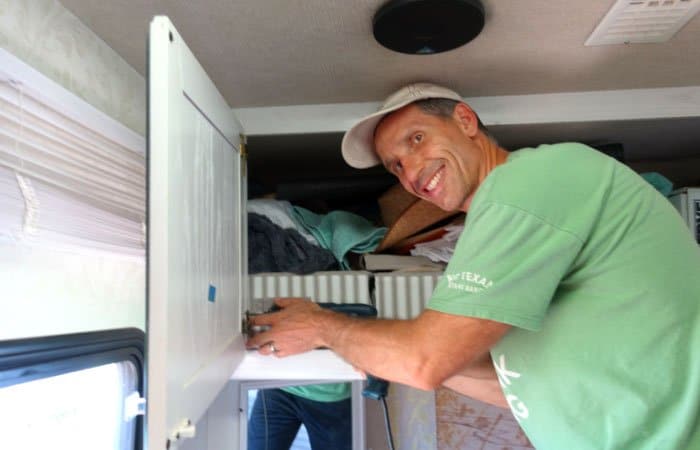
Our workspaces were removed, and every other thing that would get in the way was taken out too. We were still living in the RV and thankfully didn’t need to paint the insides of the cabinets, as they were already white (and we planned to keep it white). So we were able to keep things like food int he pantry and our clothes in the closet. But we had to remove most of our drawers, and cabinet doors for refinishing. More on that a little further down in the post

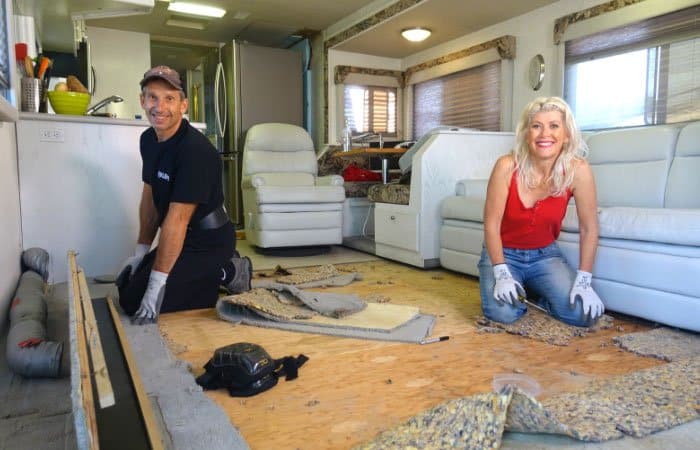
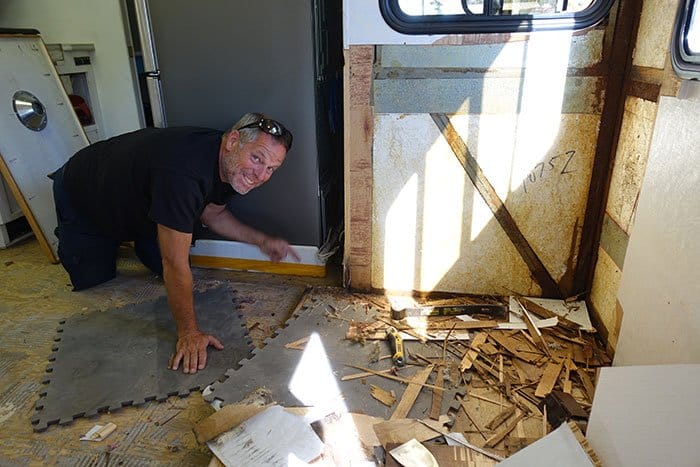
2. Ripping up the Carpet
Once the floor space was cleared, the carpet was the first to go. The bulk of the carpet came up surprisingly easy. We had been warned by others that there would be hundreds of staples. At first, it seemed there would not be too many. And we definitely had many that came up with the carpet.
But every time we thought we had all the staples, we would find more! We all spent hours and hours plucking out staples one by one. But with so many of us on the job, it wasn’t too bad. It was like taking a break from the tougher jobs. And as Julie said, it was a bit like meditation. You were intently focused on getting out that one pesky staple, that you couldn’t even think about anything else! Who knew staple removal could be so zen?
Another big win during the floor removal was discovering that a huge carpet covered box in the living room could be removed. This was behind the work space and pretty unsightly. Brett pointed out we could remove it entirely because of how we were re-arranging the room. We would still have all the air flow from the furnace vents, but without losing all the floor space to a big carpet covered box. Win!
Tools to Use
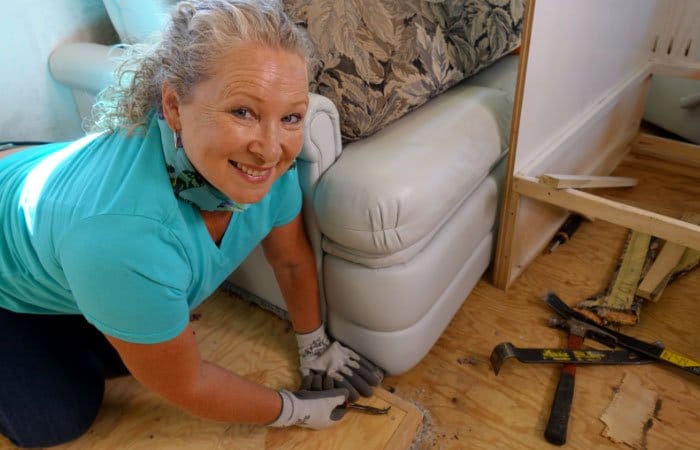
The most important tools we used for carpet removal were razor knives and wonder bars. And a lot of elbow grease. Spending so much time on hands and knees, knee pads proved to be a saving grace, as well as a weight belt which supported my back. Being on my hands and knees is terrible for my back, and when combined with all the lifting, I knew I needed to be careful if I was going to be able to finish this renovation in one piece.
As for the staple removal, small needle nose pliers and screwdrivers were the primary tools, but it’s also good to wear gloves, so you can slide on the floor to find them. And for protection of course. Safety glasses are definitely recommended, but especially important for tile removal.
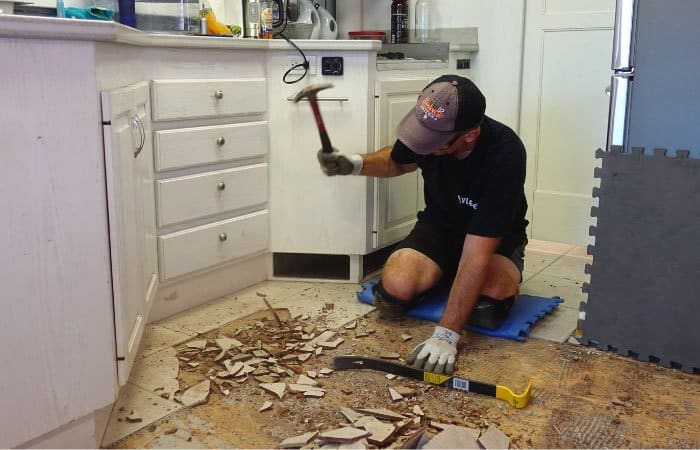
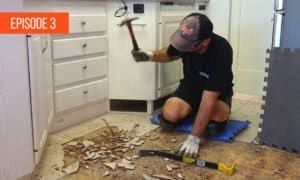
3. Busting Out the Tile
Once the carpet was out, we tackled the tile. I had originally envisioned breaking them out with a pry bar. It only took a few tiles before I got frustrated with the time and effort involved. So I just started smashing them with a hammer.
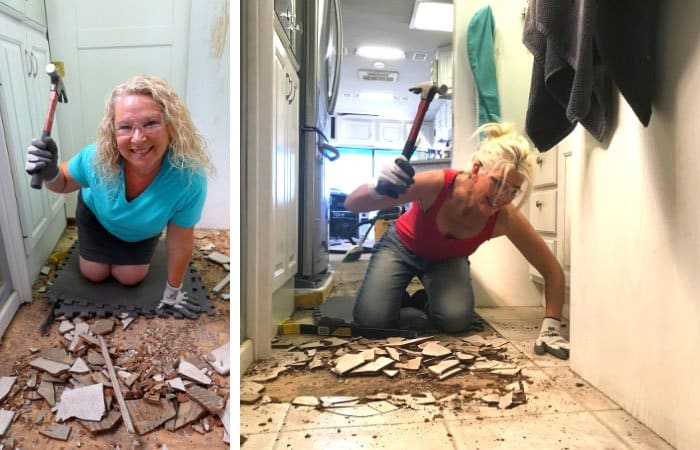
Lo and behold. The tiles came up so much easier by just smashing the crap out them. It was messy and noisy, but also a really great tension breaker and stress reliever. I, Marc, did the bulk of the tile removal, but Julie and Jane both had some fun busting the tiles too. It was loud, messy, and tough work, but ultimately we all really enjoyed it. I highly recommend wearing thick gloves, eye protection, and ear protection, if you are taking this on yourself as a DIY project.
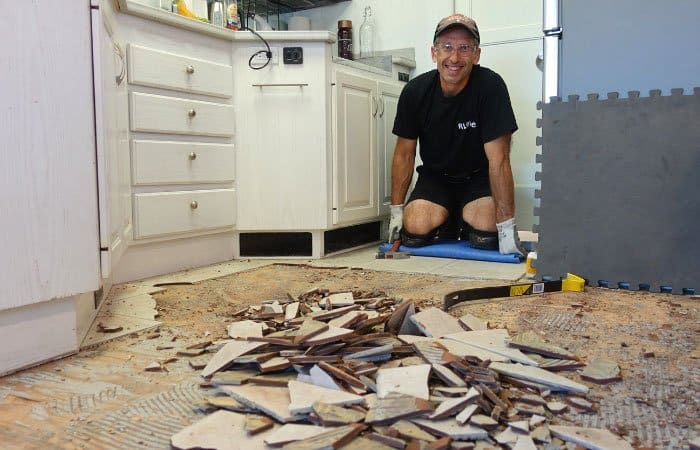
Luckily, we also had a wheelbarrow and access to a dumpster for all the carpet and tile removal. It was a lot of material. Our team did a great job making relatively quick work of the job. It was a team effort. So most of the flooring was removed in under 6 hours.
Many hours of staple removal ensued over the following days. Plus many more hours sanding down tile grout and prepping the floor for new flooring. But the visual impact of having so much of the old flooring up was definitely very satisfying.
And yes, it was an ugly mess, LIVING in our RV amidst all of this chaos!
4. Removing the Window Valances / Boxes
It is a good thing that CC has mirrored glass windows to help keep the heat down a bit. As soon as the flooring was out, we removed all the window boxes (valances) and shades. Re-upholstering the valances was going to be a significant project. And we knew we would be without window covers for quite a while.
The window boxes came off the wall pretty easily with the removal of a few screws. Pleated shades were attached to the valances, so that made the process even faster. The secondary part of the demolition of the window boxes was the removal of the dated, decorative fabric. We are going to give these a great facelift with some new fabric that ties in with the new design. Jane and Danelle will be in charge of the window boxes!

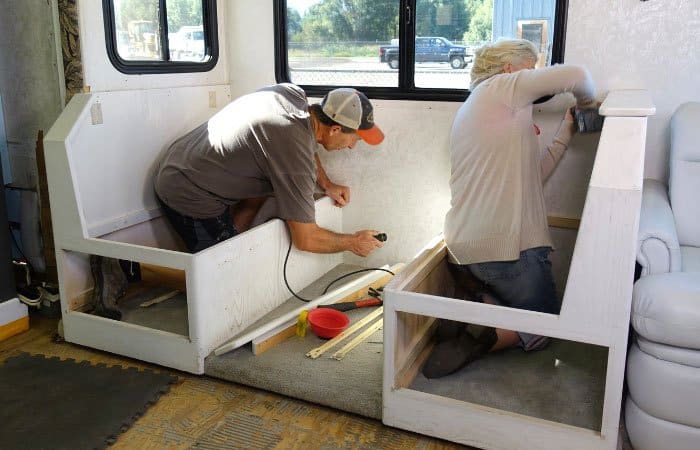
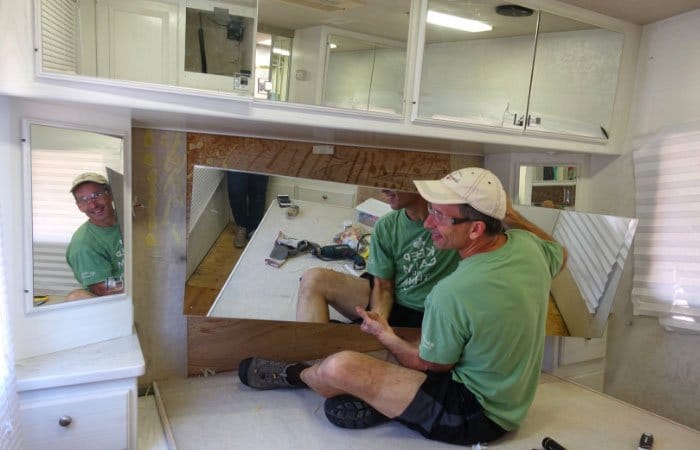
5. Bye Bye Booth Dinette
Next, we removed the chunky, old booth dinette. The original booth was very solidly built, with solid timber so we were able to repurpose most of the wood materials into other construction projects. The design of the original booth was very bulky and interrupted the visual flow of the room. It wasn’t that comfortable or ergonomic either.
Completely removing the old booth dinette opened up a blank slate for us. We planned to design a custom solution that perfectly fits us and our travel style. Of course, saying goodbye to the dinette also meant saying goodbye to our eating area. At least, during the renovation! Removing the dinette uncovered some hidden surprises. More on that in a bit.
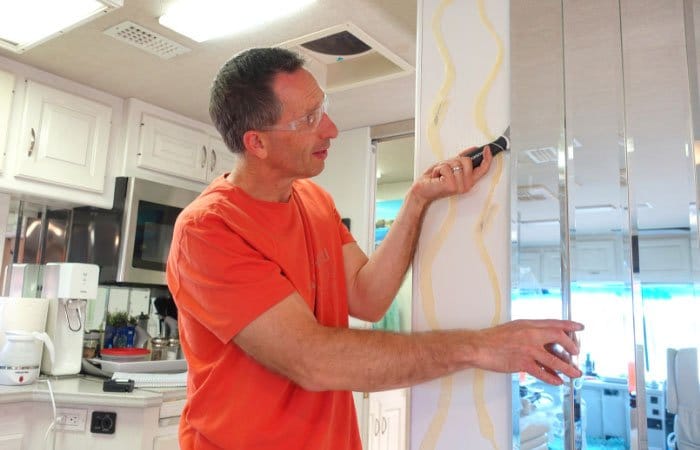
6. Mirror, Mirrors, no Longer on the Wall...
As you would have seen from our “before” footage, our RV came with the special “upgraded” mirror package when new… back in 1999! Yeah, like last century! When we bought our RV, it had 48 mirrors in it. I kid you not. To day it was both dated and chaotic would be an understatement.
Most of the 48 mirrors, in the living room, kitchen and bathroom, were three inch wide beveled mirrors. To be more precise, 33 were beveled. We also had full length, floor to ceiling beveled mirrors on the side wall of the fridge. Plus a mirrored back splash behind our eight-foot wide kitchen counter. Then there’s the bathroom.
We also had six single pane (non-beveled) mirrors on cupboard faces in the bathroom area between the kitchen and the bedroom. Oh, and 9 mirrors in the bedroom! This included one big mirror that served as the headboard. That was a LOT of mirrors for a bedroom. And while entertaining at times, it was definitely time for (most of) them to go.
We are happy to report that we were able to remove 44 of the 48 mirrors without breaking a single one. No bad luck for us. if you believe in that stuff.
The primary tool we used for successfully removing mirrors was, believe it or not, a putty knife. This worked beautifully. In fact, this became my MVT (most valuable tool) used throughout our entire RV renovation.
We also used other tools as needed, but a lot of the renovation work was done with this very simple tool. That, and patience. The only broken mirror was one that was already cracked before we bought the RV.
But we didn’t remove ALL the mirrors. Which ones did we end up keeping? You will have to wait until the reconstruction to see that.


7. Removing the Glass Shower Door
We did not like the bold, brass trimmed clear glass shower door. Aside from being bulky and dated, the glass was hard to keep spot free. We liked keeping our dirty clothes hamper in the shower, but with a clear shower door, it looked unkempt.
Plus the weight of the glass door caused it to sometimes swing open on travel days. The shower door was pretty easy to remove. Less than a dozen screws, cutting away some silicone, and a little pushing and shoving was all it took. We needed to fill the screw holes with fresh silicone. Our new plan is to install a shower rod and curtain instead.
8. Replacing the Crappy Old Vent Fans
We had two vent fans that were temperamental and just wanted to replace. We removed the fan in the kitchen and in the bathroom (toilet) area. They worked during the inspection of our RV, but over the next few months, would rarely work when we wanted them too. At times, they would sometimes open and close on their own, as if they were haunted!
Time for a fan exorcism! Maybe it was just bad sensors or other mechanical failures, and not ghosts. Either way, we figured it was a good a time as any to replace the fans. Our friend Brett ripped the old ones out, along with remote switches which our designer friend Jane said looked ugly. So out they went. Of course, this left two gaping holes… but as Brett said in the video, that was for Jane to fix!
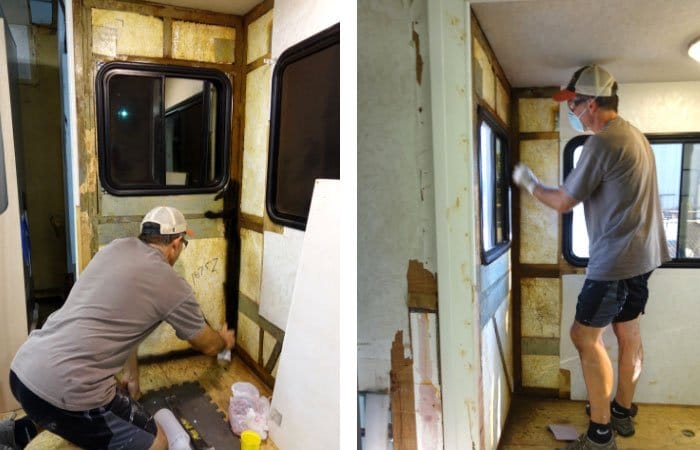
9. A Few Surprises... Water Damage and Leaks!
When we tore into the task of demolishing our RV, there were a couple of unexpected challenges. We knew there had been some water intrusion on the slide, from storm while we were in Texas a couple of months prior. But we didn’t know just how bad the damage was until we were able to fully remove the booth dinette. As it turned out, we ended up needing to tear out some of the slide-out walls, and subfloor. Bummer.
We were actually relieved it wasn’t any worse that we found. And the good thing is, by doing this renovation, we were able to uncover the problems now sooner rather than later, before it potentially became a nasty mold problem. This was an unexpected benefit of doing a bigger renovation like this. While it created extra work, at least it was all able to be fixed at once, as most everything was getting torn out anyway.
While ripping up the tile in the toilet room, we also discovered some water leakage. Maybe the original toilet got word that a new loo was in the queue. We had already planned on updating our toilet as part of our remodel. Turned out the water issue was from a leaky fresh water hose – and not the other type – and fairly recent. So no major damage was done to the floor. Phew!
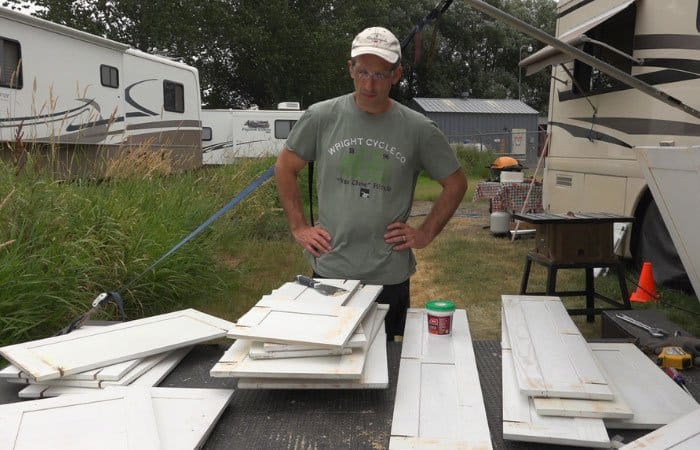
10. Assessing the Cabinet Doors
One of our biggest surprises in relation to our remodel plans was our designer friend Jane’s suggestion to flip the cabinet doors inside out. The inside cabinet finish had much cleaner, more modern lines than the traditional (20 year old) wood pattern on the cabinet exterior. While it was a cool and very innovative idea, we were unsure of how viable it would be in reality.
Luckily, I had a couple of spare cabinet doors from our removal of the original cabinets above the RV fridge. This allowed me to experiment with the hinge reversal idea before I risked putting a saw to the remaining cabinets. Once we cut the regular cabinets, it would be a one way street with no going back.
In playing around with the hinges and cuts, I was able to find a way to make the hinges work. It meant that the hinge would have an exposed, industrial type, look. I thought it looked cool, but wasn’t sure if Julie would like it as much. Turned out, Julie liked it too. This news was both good and bad. In that, it was good that we were all liked how it looked. But the bad news was that flipping the cabinets was going to be a big job piled on top of an already big renovation. In a very short timeframe.
Our friend Brett volunteered for the task, and you’ll see more about that in an upcoming episode, to see how they turned out.
Demo Days are Done!
Whew! That was a LOT of work. But fun too. There is no going back now. We are deep into this project! Our home on wheels is officially a major destruction zone. And we’re living in it. So the sooner we can get this finished the better
Now it is time to start building CC back up and re-inventing her. We think you are going to love what we do next. Construction, decorating and more coming to bring a whole new look and personality to our RV.
Check out our next episode of our Ultimate Makeover Series.
Sign up for our email newsletter with the latest RV park reviews, news and updates.
GOT COMMENTS OR QUESTIONS?
We would love to hear from you. Drop us a note in the comments section below.
More Ultimate RV Makeover Content
Want to check out more on our Ultimate RV Makeover Series? Hover over each image to see the title and episode name.

12 Lessons Learned from Our RV Renovation

Getting Our RV Ready To Travel After our RV Makeover

What Did It Cost? and RV Renovation Questions
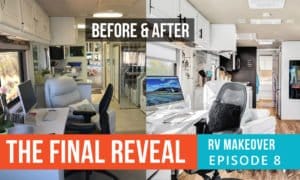
Episode 8 The Final Reveal | Ultimate RV Makeover

Episode 7: Finishing Touches | Ultimate RV Makeover

Episode 6: We’re Nearly There! Ultimate RV Makeover
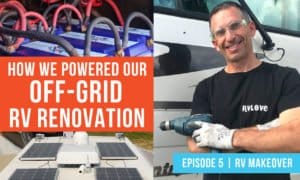
Episode 5: Powering Our Off-Grid RV Renovation | Ultimate RV Makeover
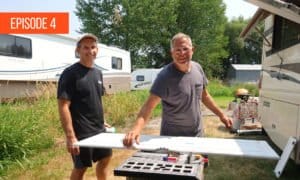
Episode 4: Re-Building Our RV | Ultimate RV Makeover
Episode 3: Tearing Our RV Apart! | Ultimate RV Makeover

Episode 2: What Are We Going To Do? Ultimate RV Makeover
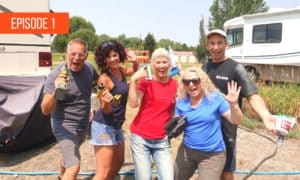
Episode 1: Let’s Do This! Ultimate RV Makeover Series

10 thoughts on “Episode 3: Tearing Our RV Apart! | Ultimate RV Makeover”
I have so many questions as we have a 2005 Newmar with mirrors a plenty and other things I want to change. I am hoping to preserve the wall behind the mirrors, especially the wall where you now have your fireplace. How did you remove the glue on the wall without damaging the wall or were all the walls where mirrors were removed updated so the glue could be sanded off? Do you have more details on your fireplace and how it was hung on the wall?
Hi Bob, because we also replaced the RV fridge with a residential fridge, we ended up removing that entire wall and Marc built a new one. We could have sanded off the glue and re-used it, but we had some water damage at the bottom so just wanted to use a fresh piece of wood. You can find the electric fireplace here – we created a folder with the gear we used in the RV Makeover here on Amazon https://www.amazon.com/shop/rvlove?listId=2F1ZEKQNXKWWLn – Because the slide comes across that wall and we had VERY little space to spare, Marc actually cut a hole in the wall so he could recess the fireplace and screwed it into the wall. But it doesn’t need to be recessed if you have the space – even now we only have a couple of millimeters to spare (if that) when the slide comes in front of it. Hope that helps! Good luck with your reno and removing those mirrors! A putty knife and a LOT of patience will be your best friends in getting those mirrors off!
We’re enjoying the makeover series! Perfect timing as our trailer needs some updating (and water damage repairs).
See ya next Monday! LOL
Perfect!
My mother wants to take the dinette out of her coach as well. I am looking forward to seeing how you “makeover” that area.
Great! It’s coming up soon!
Hey guys enjoyed part two very much, thanks. Were you able to repair leak in slide? I seem to be having the same issue, thanks ~ Steve Lamb
HI Steve – yes Marc fixed it all, but it’s frustrating. We had some more come in the other end of the slide before Christmas, needed to do more sealant around the slide, and also seemed the dicor on the roof was porous or something, Marc seems to have fixed all the leaks now! We can cover more on those in future videos, for now just focused on the high level makeover. Glad you are enjoying the series!